Showing posts with label artist. Show all posts

Wednesday, April 1, 2020

The Possibilities of Paint - Ideas for At Home


Let's talk about paint!


For some people, the idea of painting at home with their young child is exciting. For other people, it is intimidating. For almost everyone, the word "messy" probably comes to mind.

At the same time, part of what is wonderful about paint is its possibility for expression. The exploration of gesture, color, and (especially with thicker paints) texture is a beautiful outlet for anyone (not just children), and can be an excellent way to center ourselves in the moment. This can lead to messiness, but, to me, the value of what is at work behind the messiness far outweighs the momentary stress of having to clean up a painty child.

So how do you set up paint at home in a way that feels manageable while still allowing your child freedom to actually explore the material? What if you don't have a ton of art supplies lying around? How can I be a part of my child's paint experience without taking it over?

Let's talk about these things!


Minimizing Mess

What can I handle?
Before setting up, think a bit about how much "mess" you feel comfortable with. Are you willing to risk some paint getting on the floor or a cabinet? What about paint getting on your child/their clothes/your clothes? Answering these questions honestly can help you decide what sort of experience you want to curate.

Choosing a setting:
A few options for setting up include...
- seated at a table
- in a dedicated space on the floor 
- outside (if it is warm enough and an outdoor space is available)
- in the tub (for super easy clean-up)
- at an easel or upright space (if you don't have an easel, you can take paper onto the refrigerator, kitchen cabinet, or wall)

Selecting your wardrobe:
No matter what the set-up, I would suggest that you (the adult) wear clothes that you don't mind getting painty!
For your child, you can choose between stripping to a diaper or undies OR putting on some paint-friendly clothes (either their own clothes that you don't mind getting messy or - my personal fave - an oversized t-shirt).

Protecting surfaces: 
Whether you are using a table or the floor, it is helpful to have something underneath your painting area to both protect whatever surface your painting on AND to define the space visually. Some possible materials to use for covering your floor or table include:
- a canvas dropcloth
- a table cloth
- a tarp
- a sheet
- large sheets of newspaper or other paper
- a towel (less ideal for table due to the thickness)
- parchment paper or plastic wrap (for table)

Prepare for clean-up:
It is helpful to set up near a bathroom or kitchen in order to be close to the sink, but whether or not this is possible, you can still be ready for clean-up by keeping these things close by!
- damp washcloths (some children might want one nearby to use as they go)
- a bowl or bin to put paint supplies in when finished (add water and soap and you now have a water activity!)
- a towel (to wrap up a messy kiddo)


Collecting Supplies: Recipes, Inspiration, and More


Paints
If you have washable tempera paint or watercolor paints (either liquid watercolor or a palette of dry color), these are excellent options to use at home. If you don't have either of these, never fear - you can make your own paint! Both of these paints are thick and fun to use for textural explorations. They will last for a few weeks if refrigerated. Offer them in small cups or bowls, in an ice cube tray, or straight onto the paper!

No-cook Flour + Salt Paint
-Mix together 1/2 cup of flour and 1/2 cup of salt.
- Slowly mix in 1/2 cup of water.
- Once smooth, divide into containers and add food coloring or liquid watercolor for color.

Cooked Finger Paint
-Stir 1/2 cup of flour with 1 cup of water in a pot over medium heat until it becomes a paste-like consistency and begins to pull away from the pot.
- Add a pinch of salt.
- Add 1/4 cup (or more as needed) of cold water to get your desired consistency.
- Divide into containers and add food coloring or liquid watercolor.

Painting Tools
Although brushes are the traditional tool for painting, they are by no means the only thing you can use! Here are a few other ideas for things to set out with your paint:
- cups or jars, spoons, and popsicle sticks for mixing colors
- leaves, flowers, pinecones, rocks (to use as paint tools or be painted on!)
- chopsticks, q-tips, sticks, combs, and forks for making lines through thick paint
- lids, spools, and other loose parts to use as stamps
- toy vehicles to make tracks through paint
- cotton-balls
- coffee filters
- sponges (as is or cut into shapes)
- droppers
- squeeze bottles
- and fingers of course!

Parent as Partner
So your paint experience is all set... but what should YOU do as your child paints? Here are a few suggestions:
- Paint on your own paper or collaboratively (if your child is so inclined) while echoing your child's movements - let them be the teacher! 
- Paint nearby to offer simple suggestions for how to use the materials (such as how to drag a comb to make lines, press a painted flower onto paper to make a print, or create a pattern using different colors or shapes). 
- Assume the role of documentarian and prop master - focus on taking pictures (and even taking notes if you want to try it!) and having extra paint, tools, and paper at the ready.
- Start in the abstract rather than jumping in to representational paintings (this can easily distract children from their work as they become more invested in what you are doing).

A few tips if children want you to paint for them or get discouraged because "yours is better":
- Gently say that you are not going to paint for them, but would be happy to show them how you did a certain technique for them to try. Walk them through it, with lots of encouragement. Then find something that you would like them to teach you how to do.
- Remind them that you have lived a lot longer than them and have had a lot more opportunities to practice! This is a great opportunity for them to start practicing, too.

**Also, check out these posts for preschool, toddler, and infant parents!**

Be well and enjoy!
Katie & Nova


Monday, March 14, 2016

The Mightiness of the Pencil, Crayon, Pastel, and Marker

“Drawing is the discipline by which I constantly discover the world.”
- Frederick Franck

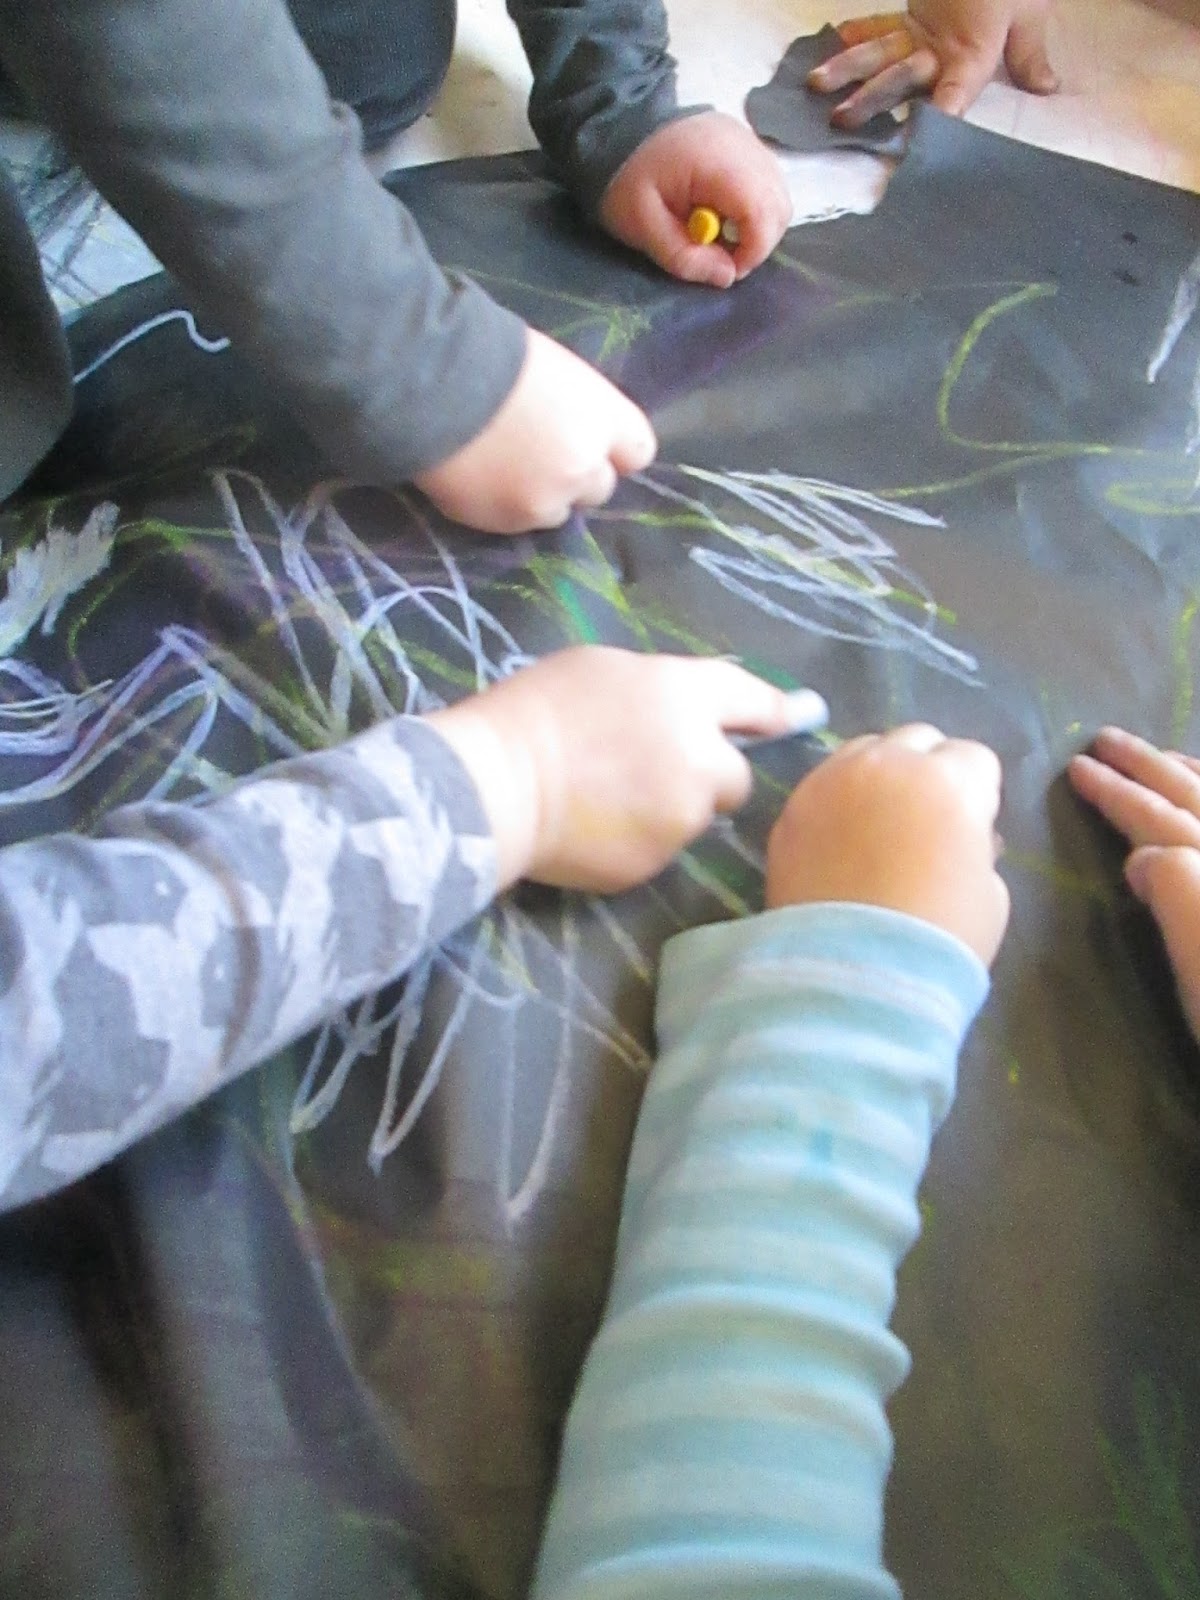
For over a month, children across our center have been coming to the Studio to draw. They have been drawing with a variety of materials - from markers to pencils to pastels - and they have been offered a number of provocations. The results have been by turns energetic, controlled, colorful, monochromatic, expansive, minimalist, exploratory, expressive, abstract, and representational. Working with children of all ages as they continue to explore the world of drawing caused me to reflect on why this process is so powerful, and has been throughout human existence. For most artists, even those who work in three-dimensional or technological forms, drawing is a necessity. In the case of James Castle, an artist who was born deaf, drawing became the means of communicating his inner life. It is, in many ways, an essential "language" for us as human beings. 

This leads me to wonder:
What does drawing offer to young children? 


Drawing works a variety of important muscles – the grip of the fingers, the flexing of the wrist, the bending of the arm. It helps to build fine motor skills, but it can also be an outlet for gross motor movements. 

Drawing translates their movements into creation - each gesture leaves behind a trace. If your arm moves in a circle, your mark also curves round and round. Pushing your drawing tool straight forward leads to a sharp, straight line. A pencil in each hand means twice as many marks appearing on your paper. Many fast, back and forth movements leave a tangle of zigzags on the page.


Drawing invites children to work as individuals to bring their ideas to life – they conceive their own concept, they choose their own materials, they determine the composition. If they return to the same work over and over again, they come to recognize the drawing as their own.


Drawing offers children opportunities for collaboration – they find space alongside each other to work on the same surface, they share materials and ideas, they discuss, dispute, and compromise. 


Drawing invites children to make connections – they connect the lines and shapes they create with the world around them, with symbols, with movements, with each other. Drawing from life - whether doing portraits, self-portraits, landscapes, or still lifes - invites them to look closer at sights they see every day, to notice and appreciate their nuances. 


Drawing helps children enter into multiple literacies – they imagine their series of squiggles becoming words, they see lines connecting to form letters, they begin to draw representationally. Zigzag lines across a paper become a letter written to parents being missed. Three dots remind someone of their symbol, or a curved line looks like the S in someone's name. 


There are surely more things to add to this list - these are simply the ones that come to my mind when I think of the power of drawing. 

What additions would you make? What does drawing offer the young children in your life? What does it offer YOU? 


Friday, November 6, 2015

Learning from Experience

Each day I set out materials and plan experiences for children of many different ages. There are always many variables at work during any given visit, and I never know exactly how things will go. Sometimes I am frustrated if the set-up does not prove as inspiring as I had hoped, or if children need a lot of help and reminders to respect the materials that are available.  I start to feel like a failure. However, even in those moments, the children’s actions and reactions hold the seeds for a way out of those feelings, and into more successful set-ups the next time.

Throughout the autumn, each session in the Studio is an opportunity for children from a classroom to familiarize themselves with a particular material, as well as the Studio space itself. For young toddlers, most of this experience lies in “messing about,” where materials are set out with minimal guidance or instruction. Preschoolers and older toddlers will experience this, as well, but may move on to learning particular techniques that will help them to use the material with more finesse.

For example, Preschool Two moved from
open experimentation with clay on tables and on the floor,
to learning about scoring and adding slip,
to opening, pinching, and attaching pieces of clay using the score and slip technique,
to creating sculptures modeled on hydrangeas, black-eyed Susans, and asters set out on the table.

This process required learning from me, my fellow teachers, and the children. Each time a small group worked in the Studio, I learned something about their thinking and understanding of the clay. I learned what aspects of the day’s work they found challenging and what parts they were able to connect to what they had done before. This new knowledge helped me decide what changes I should make when I worked with this group or others.
 
For example, we practiced the method of scratching and wetting the surface of the clay to attach pieces to each other. Since we moved right into this method when we sat down, the children began to join pieces of clay without really shaping them. They weren’t very invested in their work, and they didn’t notice the shape and potential “being” of their clay. I realized that for them to gain the practice and skills I was hoping for, we would have to approach the problem a little differently.
For the following groups, we started not with joining pieces, but with making shapes from the clay. Children were very confident in creating long “snake” shapes, and balls, and soon they had many pieces to choose from. Now was the time to work in the joining process. The children already had their pieces shaped, so joining them together became an opportunity to form something new. The experience this time around was much richer. Nava and Everett both began to experiment in forming symbols from their clay pieces. M. made several snakes that she lined up “like a train.” Phineas joined his snake shapes into a single long path that curled around his board.

Encouraged by this, I incorporated this successful process into the following week, where children spent time opening a large piece of clay together, creating a communal base that they could then add pieces onto using the same techniques we had been practicing.

The creations that children came up with were amazing! Their blocks of clay transformed into sidewalks, then houses, then waterparks! They began to attach their clay in more careful and intricate ways, creating bridges and waterspouts. One group – featuring Justin, Phineas, and F. – decided very early on that they wanted to create some sort of building together.

“I’m making sewers,” Justin said as he dug holes near the bottom of the mound, “I’m making a place to catch the rain so the house doesn’t get ruined.”
Phineas began to attach a long snake near the top, “This is the thing that makes the lightning so it doesn’t hurt the house.”

When we reached our session of recreating flowers in clay – our chance to put all of our knowledge of this material together as we examined these specimens of the natural world – I could see the children’s previous experiences come into play. At first they made the parts of their flower – sometimes the stem, sometimes the petals or leaves – before thinking about how they would join them together. Luke, who was making a black-eyed Susan, rolled a single long snake that he broke into smaller pieces for his petals. Phineas worked to shape his leaf for the same plant so that it “bends” just like the one on the real plant.  

Some children, like Nava, E., and Luke, sought to make their flowers stand up, while others lay them flat on their boards – each technique bringing its own unique challenges. They carefully went through the steps – score, wet, push together, and smooth – for each piece that they joined, clearly invested in making something that would hold together.

Many of the children began with the black-eyed Susan as their muse – the flower they declared to be the “easiest” to make. One particularly satisfying moment for me as a teacher was when Everett and Phineas had each finished this flower and decided to “try” to make another – the hydrangea – with its small, round petals. Everett even went on to do the “hardest one,” the aster, complete with “all of those spiky leaves.”

Thinking back to our first attempts at attaching clay pieces to each other, I was grateful for what the children had taught me in teaching them. Working alongside them, I had learned to slow down, think first about shaping the clay, then about how it should fit together, before moving on to the actually joining process. The children’s growing confidence in their work was a testimony to their own learning, as well as my own.

Each class is broken into many groups and each group comes for the same general experience in the Studio. But I know I would not be doing my job as a teacher if I offered each group exactly the same experience. I am always so grateful to the first group that comes, because they help me to see what works and what doesn’t about how I have planned, arranged, and introduced the day’s session.

Sometimes the smallest tweak in a set-up can make it more inviting, and the slightest re-structuring of a material’s presentation can help children to embark on a new relationship with it. Those moments of so-called failure can often be the best moments for learning, because they force you to think even more deeply about your own reactions and the reactions of the children you observed, just as the tumbling down of a child’s clay structure invites them to consider new and better ways to build it. Art educator Jessica Hoffman Davis believes that one of the best arguments for keeping arts in our schools is that they offer “the chance to have daring, edgy, generating, and important encounters with failure… For artists, mistakes open doors for their work.” I would say that perhaps the same goes for teaching. Teaching is not (and should not be) about getting everything right the first time. It is about the “generative” process of learning from and growing through our failures, and seeing them for the amazing teachers they are. 

"In Defense of Failure" by Jessica Hoffman Davis, EdWeek, October 8, 2003.

Thursday, June 4, 2015

Building Skills, Building Confidence, Building Comraderie

Too tricky, or not too tricky,
that is the question.

Nathan, Kevin, and Kai are builders extraordinaire. They build on the floor and on tabletops. They build amazing cities using blocks both big and small.

When Seana told me about the city-building these three were working on, it immediately sparked an idea – a observational “city drawing” walk around Cambridge.  We would bring sketchbooks and thinking markers as we walked around in search of interesting buildings and other pieces of architecture that might inspire them. Observational drawing walks are some of my favorite things to do with children – I love opportunities to connect with our greater community – so I was pumped!

For our first walk, it was just me, Nathan, and Kai, because Kevin was out that day. As we began walking, one of the first things the boys noticed was the footbridge that crosses the Charles River near our school. We sat down on a bench so we could observe and draw. While Kai began work on the bridge right away, Nathan did not even take the cap off of his marker. Instead, he pointed out things about the bridge, especially the lights.

“The bridge has lights on it. Did you know at night it’s dark, so the red lights show you when not to go and the green lights show you where you should go… look, see the lights? Do you have room for the lights?”
Do you want to draw the lights of the bridge?” I asked Nathan.
He shook his head, “That’s too tricky for me.  I want to draw something easy.
What makes it tricky?” 
Look there are so many parts to it. I can’t do all of those.”
“What if we started with just one part? Which part would you do first?”
“Nah, it’s too tricky.”

Similar conversations occurred at several other points on our walk. While Nathan was comfortable drawing street signs and other “easy” things he saw, when it came to drawing something as complex as a building, he felt overwhelmed. As a teacher and an artist, I felt an internal struggle. Nathan was clearly drawn to the different street signs we saw –he was constantly pointing them out – so should I let him keep drawing these without pushing him to take on one of the “tricky” things? My finer feelings rebelled against this. After all, isn’t it part of my job, as a teacher, to challenge my students, and to help them through those moments of frustration in surmounting that challenge? The question then became, “How can I help Nathan to move out of his comfort zone with his drawing and find confidence in taking on a “tricky” task?”

The opportunity came when we crossed a second footbridge over a road. As we sat down on some concrete benches, Kai immediately pointed out a building he wanted to draw and set to work. Nathan looked around, considering a construction site in view. He began to make some strides as he started to draw parts of the site with prompting from me – a ladder first, then some of the beams around it. After this, however, he returned to drawing the signs he saw, including one that pointed to the bridge we had walked over.

Maybe you could draw the bridge, too?” I suggested.  Nathan shrugged, “It’s too tricky.” “It might seem very tricky now, but as we get more and more practice, drawing tricky things gets easier and easier,” I said. “I know that,” he said.  I smiled and turned around to face the bridge, “So let’s try it! I will help you think about what you need to do to draw that bridge.”

We sat side by side, looking at the bridge. “What is the shape of that bridge? That might be a good place to start,” I suggested.  Nathan drew an arching line to represent the bridge. I looked at his drawing, then back at the bridge. “Yes, that shape looks a lot like the part that we walked down,” I said pointing at the bridge’s curve.  "Let’s see, what else does the bridge have on it? What helped us as we walked over?” Um, the railings?”He added these, too, as well as another section of the bridge that we had walked on.  “What else do you see?” I asked, to which he answered, “I don’t know.” I looked again, saying, “Whoa, I see something under the bridge that I wouldn’t expect to be there.” Nathan followed my gaze, exclaiming, “Doors! That’s so weird! And a window in between!” He began to add these to his drawing. Kai, who was still hard at work adding multiple windows to his own drawing, looked over at Nathan’s work in progress, then at the bridge. “You need some stairs,” he suggested.  Nathan added some lines on one side for the steps. “How about that?” Kai nodded, “That’s good. You’re doing it!” Nathan looked back at his work, “It’s kind of like a ladder. Done!”  “Wait, the other side, too!” Kai reminded him. “Oh yeah!
I held up Nathan’s finished bridge so he could see it in comparison to the real thing. “What do you think?” I asked. “Good,” he said, smiling.


. . . . . .


Kai's drawing of the "100 Building"

We went on a second walk a little over a week later, with Kevin and Seana joining us this time. Instead of venturing along the river, this walk took us into the neighborhoods along Banks Street and down Mt. Auburn Street.  Our first stop was to draw the area around what Kevin called, “the 100 building.” Kevin and Kai both set out to draw the building itself, while Nathan once again demurred, returning to his old saying, “That might be tricky, I might look for something easier for me.” 

However, rather than simply choosing a street sign, he decided to draw the garage that was next to us, with its large doors and emergency light. After he finished, he decided to move on to drawing a street sign, which he identified as a “no parking” sign. Rather than just drawing a line and a rectangle, as he had on our last trip, he began to add some details of the sign itself – an arrow and the words “NO PARKING.” Unfortunately, his first sign was too small to hold all of the letters, so he started over on a fresh page, making use of Seana’s suggestion that he write the words first and draw the sign to fit them. As he worked to decipher the order of the letters, Kevin and Kai both began to chime in to help him. “Is the next one an R?” Nathan asked, “Yep, it is an R, and then a K, like my name,” Kevin replied. 

We saw many other interesting sights along the way, including a church with a crucifix on the front, which Nathan described as a man “made of stones, holding a bridge, and dancing.” But our final stop was one of the most interesting. It was the Harvard lampoon building, which is not only situated on its own in the middle of the street, but is also architecturally very striking, with a rounded front, stained-glass windows, and flag poles protruding above the door. Nathan’s first remark upon seeing it was, “What a beautiful door!” As Kevin described it, “It’s funny to me, because it’s not very high. That’s a short building (next to it), but this one is even shorter, and it’s right in the middle of that road.”


All of the children recognized that drawing this building was going to be a challenge. There were so many parts! And what an odd shape! I sat next to Nathan, wondering what would happen as he tried to draw it – would he refuse, denouncing it as “too tricky?” Would he limit himself to drawing just the door, window, or some other small “easy” part? After looking at the building in silence for a moment, he asked, “Can I draw just the round part? With the door and the little window and those poles?” He was referring to the front of the building, which was rounded in shape. I was elated.  “That sounds like a great plan. Where do you want to begin?” He moved from the base upwards, adding in one piece of the building’s façade after another, until he came to the “flamenco” at the top. “I don’t know how to draw it, can you help me?” Before I could even offer, Kevin, who had already finished his drawing of the building, jumped in. Using his hands, he illustrated the lines that Nathan should make to construct the body, neck, and beak of the bird. “Like this,” he would say, pointing his hand up, then slowly bending it forward into a curve. Nathan watched Kevin’s hands carefully, mimicking them with his marker on the paper. Once he had finished, we packed up our notebooks and markers, and began the walk back. Almost immediately, the three of them joined hands and Nathan declared, “Let’s sing ‘Fly me to the moon!’” They walked joyfully back to school, with Nathan leading them in singing the song continuously the whole way. 
. . . . . . .
I am so proud of Nathan for taking on my initial challenge of drawing the “tricky” bridge, as well as for continuing to broaden his drawing skills in the second visit. At one of our most recent professional development day, we talked about how everyone can struggle with a “little hater” inside our heads, telling us that what we do is not, and never will be, good enough. I know that I often have to guard against just such a voice, pushing through moments of creative self-criticizing that prevent me from trying anything, success or failure. I think Nathan was struggling with his own “little hater” during these walks, and I appreciate that he was willing to fight back against this voice in his head, with the help of his teachers and his peers. I also appreciate that the process of helping Nathan in these moments allowed me to reflect on the type of teacher I want to be - a support and a sounding board who nonetheless will hold you accountable to your own best abilities - and what I hope for the children I am teaching – self-confidence and a willingness to take risks. I hope that I can continue to be this type of teacher for Nathan and the other children I work with throughout the center.

Kevin's drawing of the Harvard Lampoon
I am also proud of Kai and Kevin, who both found the time and energy to not only work on their own drawings, but to provide Nathan with the support he needed to finish his. From offering him ideas for his bridge, to helping him with the letters for his sign, to describing how to draw the bird on his building, they showed genuine interest and investment in his work, as well as in his skills as an artist. Their walk back together felt like a celebration of their collective successes, as well as for their friendship and care for one another as individuals.

Nathan's drawing of the Harvard Lampoon
This experience has also given me a chance to reflect on what it is we offer children when we invite them to think about things through multiple media. As I said at the beginning, these children are all very comfortable working with the three-dimensional and geometric material of blocks as a way to create cities and buildings. In some ways, this might be easier than drawing a city or a building, because, with the blocks, they are creating something three-dimensional with something three-dimensional. It was clear that trying to represent real, physical buildings (and bridges, etc.) through the medium of drawing presented some real challenges. I really was asking the children to think about the buildings in a different way, stretching not only their drawing skills, but also their understanding of perspective, scale, and proportion, to name a few. They were expanding their repertoire, using the dispositions of builders, architects, artists, and designers, all at once.

Kai's drawing of the Harvard Lampoon
One of the next steps I am eager to try (and which Nathan himself suggested) is to try to recreate their drawings using three-dimensional materials. As we return to a material that these three children feel like “experts” with, I wonder how we can continue to challenge and support each other in our work? Will these buildings still feel tricky? Or will they be easy to build? I can’t wait to see!


How do you silence your “little hater” and take on something you thought was “too tricky”?             

Thursday, December 11, 2014

Conversations with Nature: Preschool One Explores Natural Materials

“We often forget that WE ARE NATURE. Nature is not something separate from us. So when we say that we have lost our connection to nature, we’ve lost our connection to ourselves.”
                                                                                   ― Andy Goldsworthy

Autumn in New England is full of natural beauty – from golden leaves floating to the ground to acorns nestled in the grass to branches blown free by the winds.  These objects call out to be touched, gathered, collected, and children often do just that. Pockets that were empty before the trip to the playground return crammed full of bark and twigs and stones. Long sticks are brandished like swords and left unwillingly beside the door until they can be used again. These things entice us, draw us in, and call to our creativity. They are one of the hundred languages, and, if we make space, we can speak through them. This is Preschool One’s story.  

Rivers and Tides
We began our work with natural materials in the Studio by watching pieces of the documentary, Rivers and Tides.  This documentary features the work of artist Andy Goldsworthy, who creates beautiful installations – some in museums, but many of them outside – using entirely natural materials. I love this documentary because it not only showcases Goldsworthy’s breathtaking creations, it also shows his process. You can see his attention to detail in finding the perfect piece to add to his creation, as well as his frustration when one of his projects collapses midway.

I projected the video on the wall without sound, occasionally prompting children’s conversation with questions, such as “What does that remind you of?” or “What do you think he is using?” Here are some of their thoughts about what they witnessed*:


Alisa – It’s a snake.
Y. – Did you know there’s paths like that?
N. – Maybe it’s a drawing.
Justin – Maybe it’s lava.


E. – Hey all those are blowing away from the snake.
Justin – There’s something inside them – a sea snake.


A. – We see ice.
F. – His hands are cold.
Y. – What is he making? He’s eating it. Ew.
E. – It’s cuz all the other pieces are just like it and he can stick the pieces to the pieces.
All – BRAVO (when he finally sticks his last piece of ice).
N. – It’s a snake tree.


Justin – Maybe he’s making a nest.
Arnaud – Maybe he’s making a nest out of trees.


A. – I think he is making a house for him. He’s using stone.
Justin – Looks like a pile of rocks.
Gus – Maybe it’s melting – now.


Alisa – It’s a web.
Y. – You know why it’s not a web, because there’s a hole on a stop sign.
F. – Why is there a hole there?
Y. – Maybe so it can be a stop sign.

The Building Process
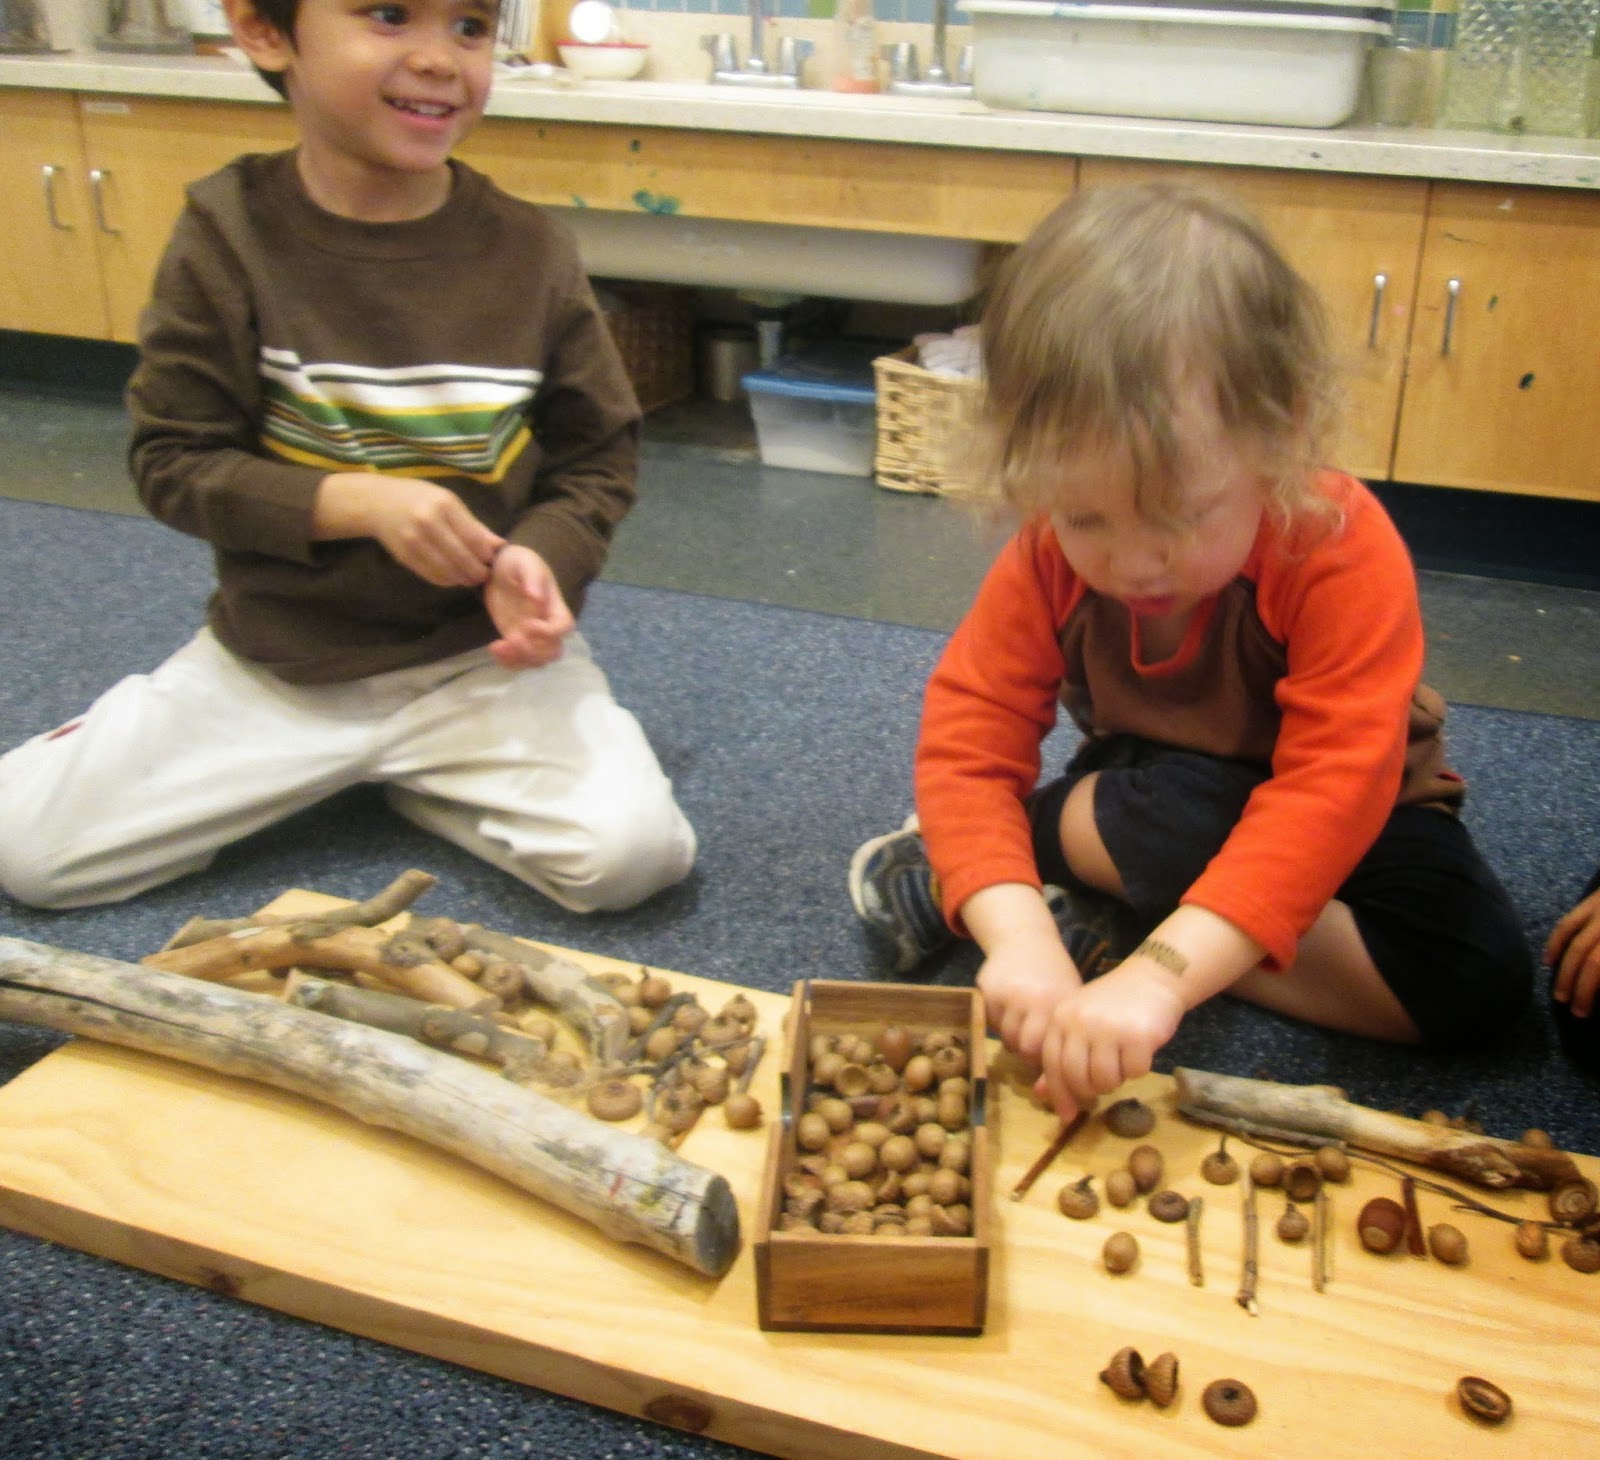
Following the video clips, I moved away the projector, spreading out several work surfaces on the floor, as well as baskets filled with many of the same materials that the artist had used. As children began building, I could see ways in which Goldsworthy’s work directly influenced their designs and their methods. Their great care in building creations using sticks, rocks, pine cones, acorns, and leaves seemed to echo the deliberation and concentration we had witnessed in the video.


As Gus surveyed the materials, he asked, “Can I make like he did?” beginning to collect sticks for a “nest.” Later, when he wanted to make one of the sticks stand up, “like a tree,” he made use of a glass jar as a stabilizing device. When A. laid out a small circle of rocks, she said, “I made what he made. I saw he made a hole with rocks, so I made a hole with rocks.” El. created a long line using all of the rough-edged rocks available. Arnaud and Justin built intricate traps, where each acorn cap or stick had a job to do.  N. enjoyed making matching stacks of things, such as a series of tree ring towers. Phineas overlapped a series of sticks, which he described as “just a design.”  E. worked to cover the entire surface of the different squares of wood set out alongside the materials. She would search for the perfect rock to fill each space, creating an orderly mosaic of materials.

Questions of Scarcity
I noticed that order and space became very important for many children over the course of the visit – lining up a series of sticks that were big enough to stretch across two other sticks like a bridge, filling a small square with only smooth stones… This meant that many conversations arose around the issues of scarcity – not having enough to finish a project you had begun – and stockpiling – holding on to many things in order to use them for future projects. Such conversations are part of the preschool milieu – how do you share space and resources with 15 (or, in this case, 4) other kids? The unique piece of this Studio experience was that this was a space dedicated to using just these particular materials, leaving more room for these discussions to happen. In many cases, the children discovered that their worries about someone else taking “all” or “too many” of something were unfounded, or that they really did not need all of the pieces they had been fighting to keep. For instance, when Gus was working to create his “tree,” the glass jar he wanted was full of sticks. He quietly sat down by the jar and began to empty it out. A. and E., who were working nearby, watched him.

A.: Oh no, he’s taking everything!
E.: Oh no, and I need sticks!
At this point, Gus left with the jar, leaving a pile of sticks on the floor.
E.: Oh, he just took that jar.
Katie: Did he take everything?
A.: No, he left those.
Katie: All he needed was the jar, so he left the sticks for you.
E.: That was nice of him. I guess I only need a few sticks.

Where the River Meets the Sea: The Big Picture
Through this experience, the children gained practice in appreciating, using, and re-using these natural materials. Treated as loose parts, the possibilities of sticks, rocks, and leaves multiplied, while children’s concerns over quantity and ownership gradually diminished. My wish is that this way of being can extend beyond the classroom into the greater natural world, where we can recognize forests, mountains, rivers, and more as treasures held in common, worth defending to be appreciated again and again by generations, rather than used up for the sake of one. We are the stewards of the earth, and we are charged with the task of passing that stewardship on. The best way I can think to do this is to help children engage with nature, cherish it, and not merely preserve, but share it in good faith. 

*The pictures featuring Goldsworthy's work are screenshots from Rivers and Tides.